We independently research, review, and recommend the best products. If you buy something through our links, we may earn a commission. Learn more.
Roll up your sleeves, folks, because today I’m going to let you in on the secrets of growing the marvellous Everlasting Pea (Lathyrus latifolius). These charming climbers may look like their annual cousins, the sweet peas (Lathyrus odoratus), but they’re a little bit different. For starters, they don’t have that lovely fragrance, but they more than make up for it by sticking around in your garden for years to come.
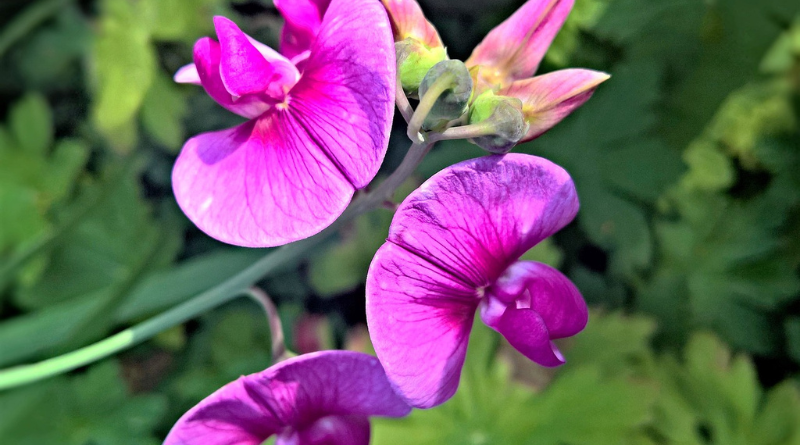
Meet the Everlasting Pea
This delightful perennial climber has a way of brightening up gardens with its soft pastel blues, purples, and pinks. Though not as sweet-smelling as their annual counterparts, these hardy plants can be counted on to reward you with long-lasting blooms and easy cultivation.
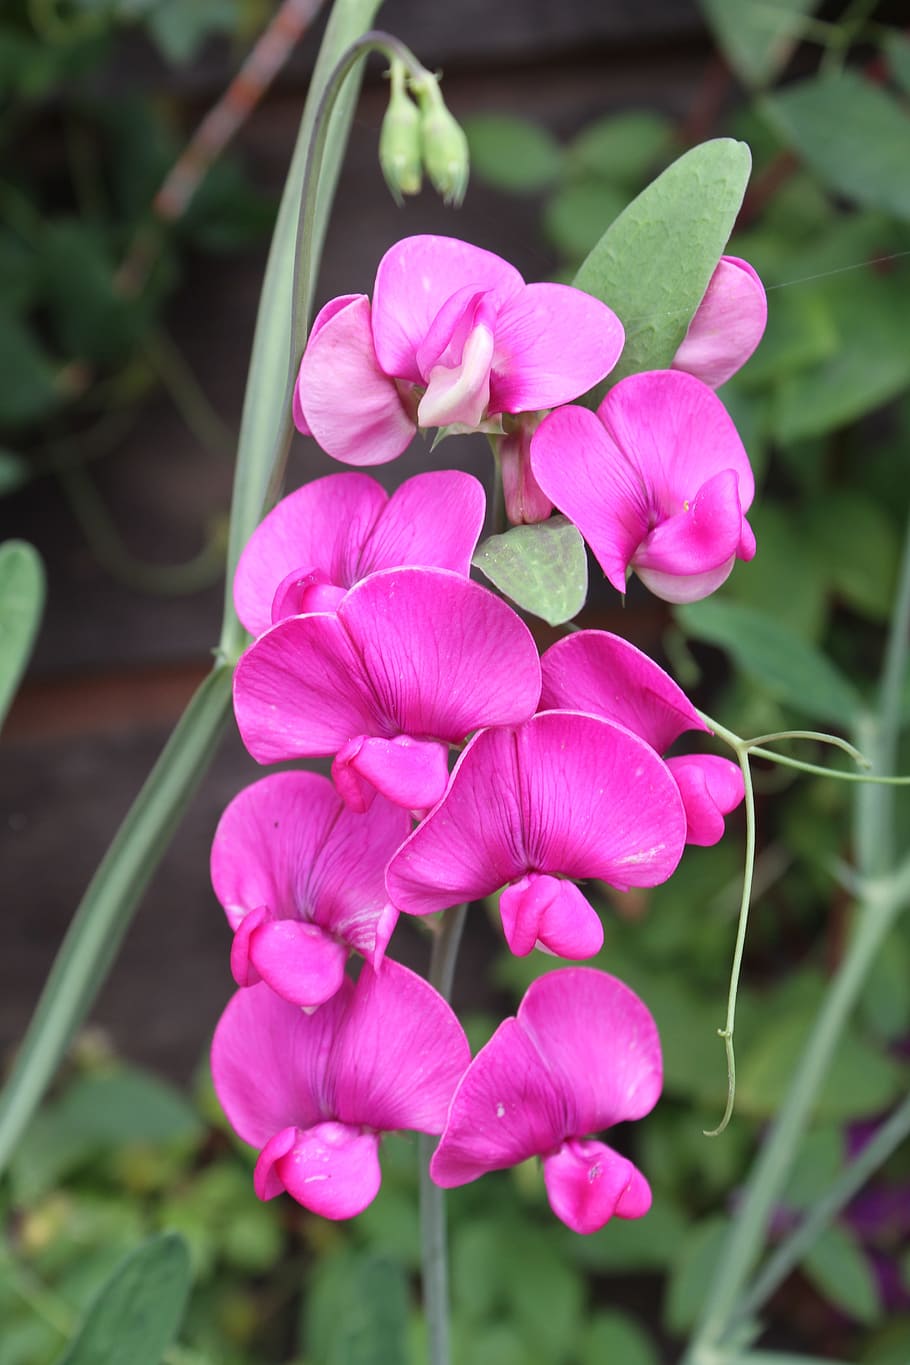
There are around 20 different Everlasting Pea varieties to choose from. One that’s rather special is Lathyrus nervosus (Lord Anson’s Blue Pea) – it’s got that lovely sweet pea scent and beautiful blue-lavender flowers. Another eye-catching variety is the “White Pearl,” with its pristine white blossoms.
Over the years, I’ve had the pleasure of growing many a lovely Everlasting Pea in my own garden. They’ve become a firm favourite of mine, bringing a splash of colour and charm to my borders and climbing structures. I’ve found that with just a bit of tender loving care, these hardy climbers reward you with a spectacular show of blooms throughout the summer months.
Cultivating the Everlasting Pea from Seed
Growing Everlasting Pea from seed is a straightforward and rewarding process. With minimal effort, you can have a flourishing climber that enhances your garden’s beauty for years to come.
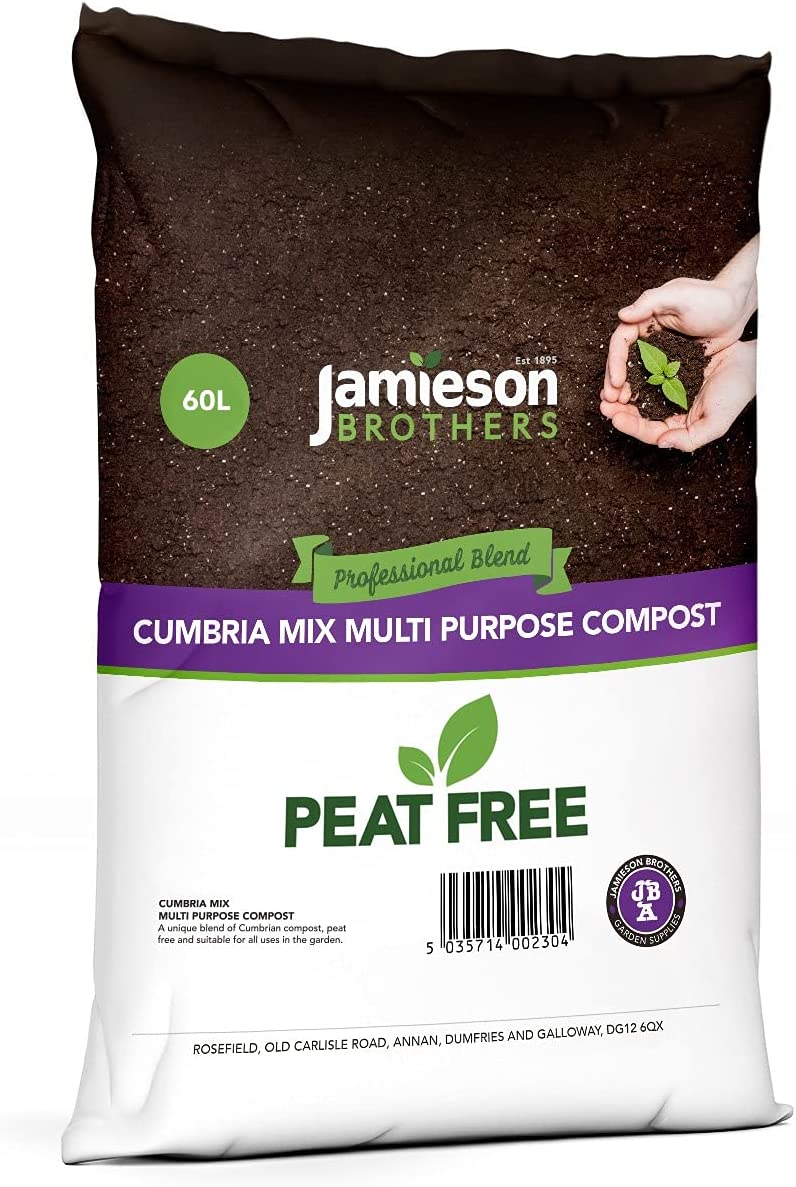
Unlike annual peas, Everlasting Pea seeds are sown exclusively in spring, with February to March being the ideal window for planting. I find that it’s best to use seed trays or small containers filled with peat-free compost to sow the seeds. Maintain a warm environment (approximately 18°C) to encourage germination, which generally occurs within 10 days. I always advise completing this process indoors, ideally in a warm greenhouse.
After ten days or so, it’s time to move the little ones outdoors. Once the seedlings are big enough to handle, transfer them to larger pots to grow a bit more. Get them used to the great outdoors by “hardening off” – gradually exposing them to outdoor conditions. Then, find a lovely spot in your garden to plant them out.
Top Tips for Growing Everlasting Peas
These plants are known for their adaptability and toughness, making them great for gardeners of all stripes. By following my next three pointers, you’ll give your perennial peas the best change of thriving.
Create Happy Growing Conditions
Everlasting Peas enjoy basking in full sun, but they’ll also tolerate a bit of shade. They’re not fussy about soil – acidic, alkaline, and clay soils all suit them fine, but they do appreciate fertile ground and a good drink. Regular watering helps keep powdery mildew at bay.
Keep an eye out for pests
For Everlasting Peas, keeping an eye on common pests like aphids and slugs is key. If you spot aphids, you can often control them with a simple blast of water from the hose or by introducing beneficial insects like ladybirds, which are natural predators of aphids. For slugs, try using beer traps, copper tape, or eggshells as deterrents.
If you must use a pesticide, choose one that is specifically formulated for aphids or slugs, and always follow the manufacturer’s instructions. Neem oil or insecticidal soap can be effective against aphids, while iron phosphate-based slug pellets are a safer choice for dealing with slugs.
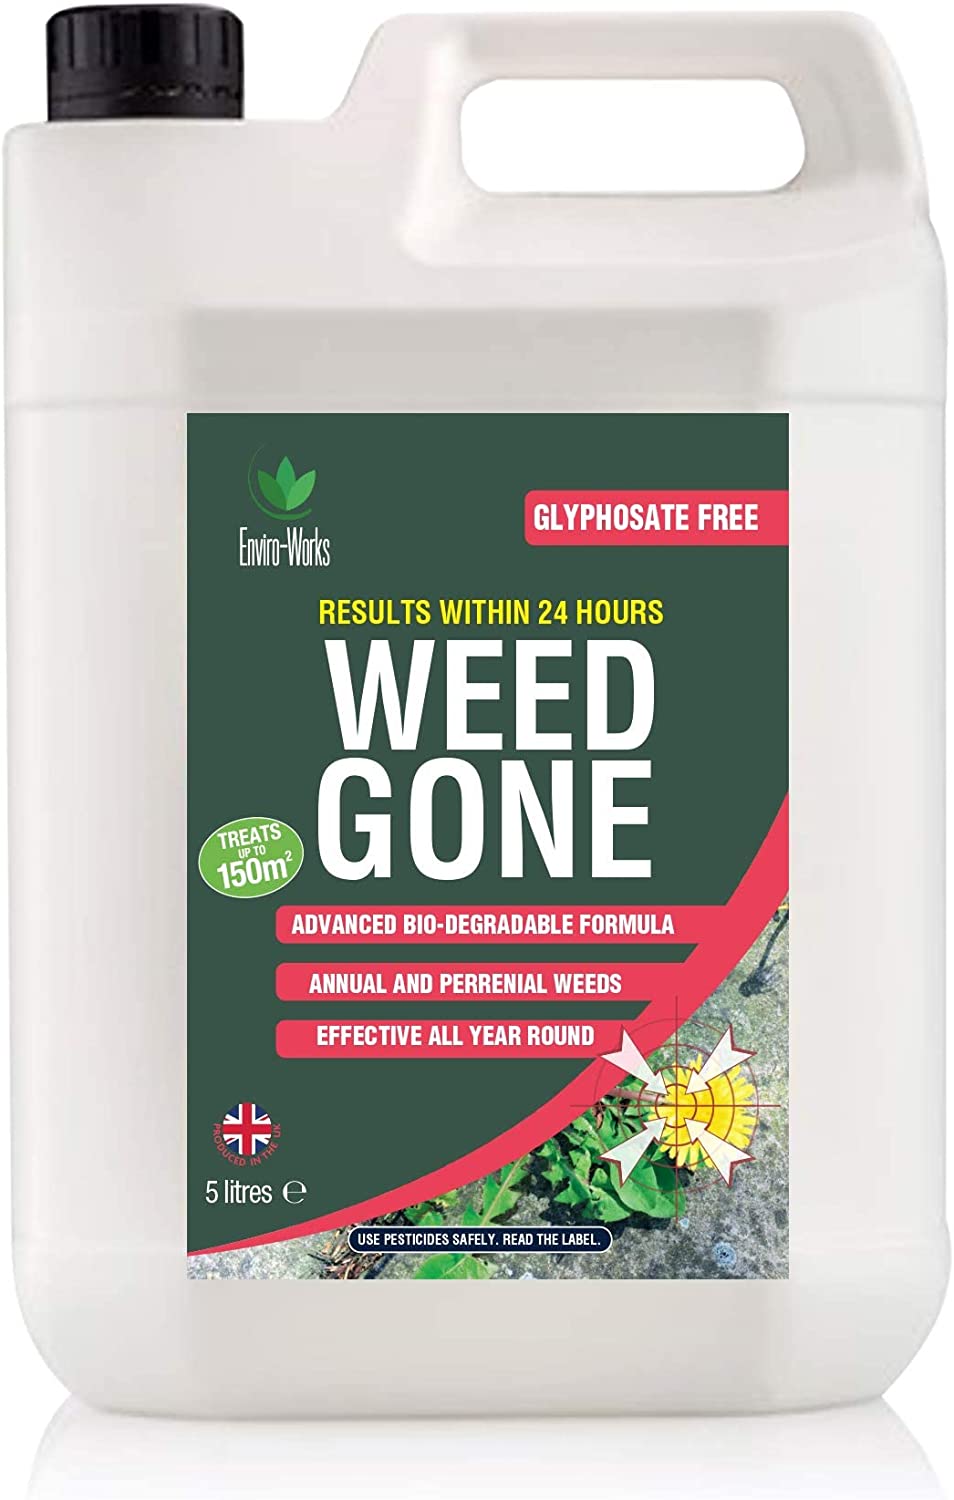
As for herbicides, if you have persistent weed problems, you might consider using a selective weed killer, which targets only specific weeds without harming your Everlasting Peas. However, always double-check the label to ensure it’s safe for use around Lathyrus latifolius. In most cases, good old-fashioned hand-weeding and mulching are the best solutions for keeping weeds in check around your prized plants.
Remember, the key to maintaining a healthy, thriving garden is prevention and regular care. Keep an eye on your Everlasting Peas, and address any issues as soon as they arise to minimize the need for chemical intervention.
When and how to trim
As the growing season comes to an end, usually around late October or early November, your Everlasting Peas will start to look a bit tired, and their foliage will begin to die back. This is the ideal time to give them a good trim.
First, grab a pair of clean, sharp secateurs or pruning shears. This will ensure a clean cut and minimise the risk of transmitting diseases between plants.
Next, carefully examine your Everlasting Peas and identify the stems that need trimming. You’ll want to cut back all the growth from the current season, leaving only the main plant structure.
Start at the top of the plant and work your way down, cutting each stem back to about an inch or two above ground level. Make sure not to cut into the main plant structure, as this can damage the plant and hinder its regrowth in the spring.
Once you’ve finished trimming your Everlasting Peas, you might want to add a layer of compost or well-rotted manure around the base of the plant. This will not only nourish the soil but also help insulate the plant’s roots during the winter months.
Additionally, if your region experiences particularly harsh winters, you could consider adding a layer of mulch, such as straw or bark chips, around the plant to provide extra protection from the cold.
With a good autumn trim and some thoughtful aftercare, your Everlasting Peas will be well-prepared for their winter rest and ready to put on another fabulous show come springtime.